
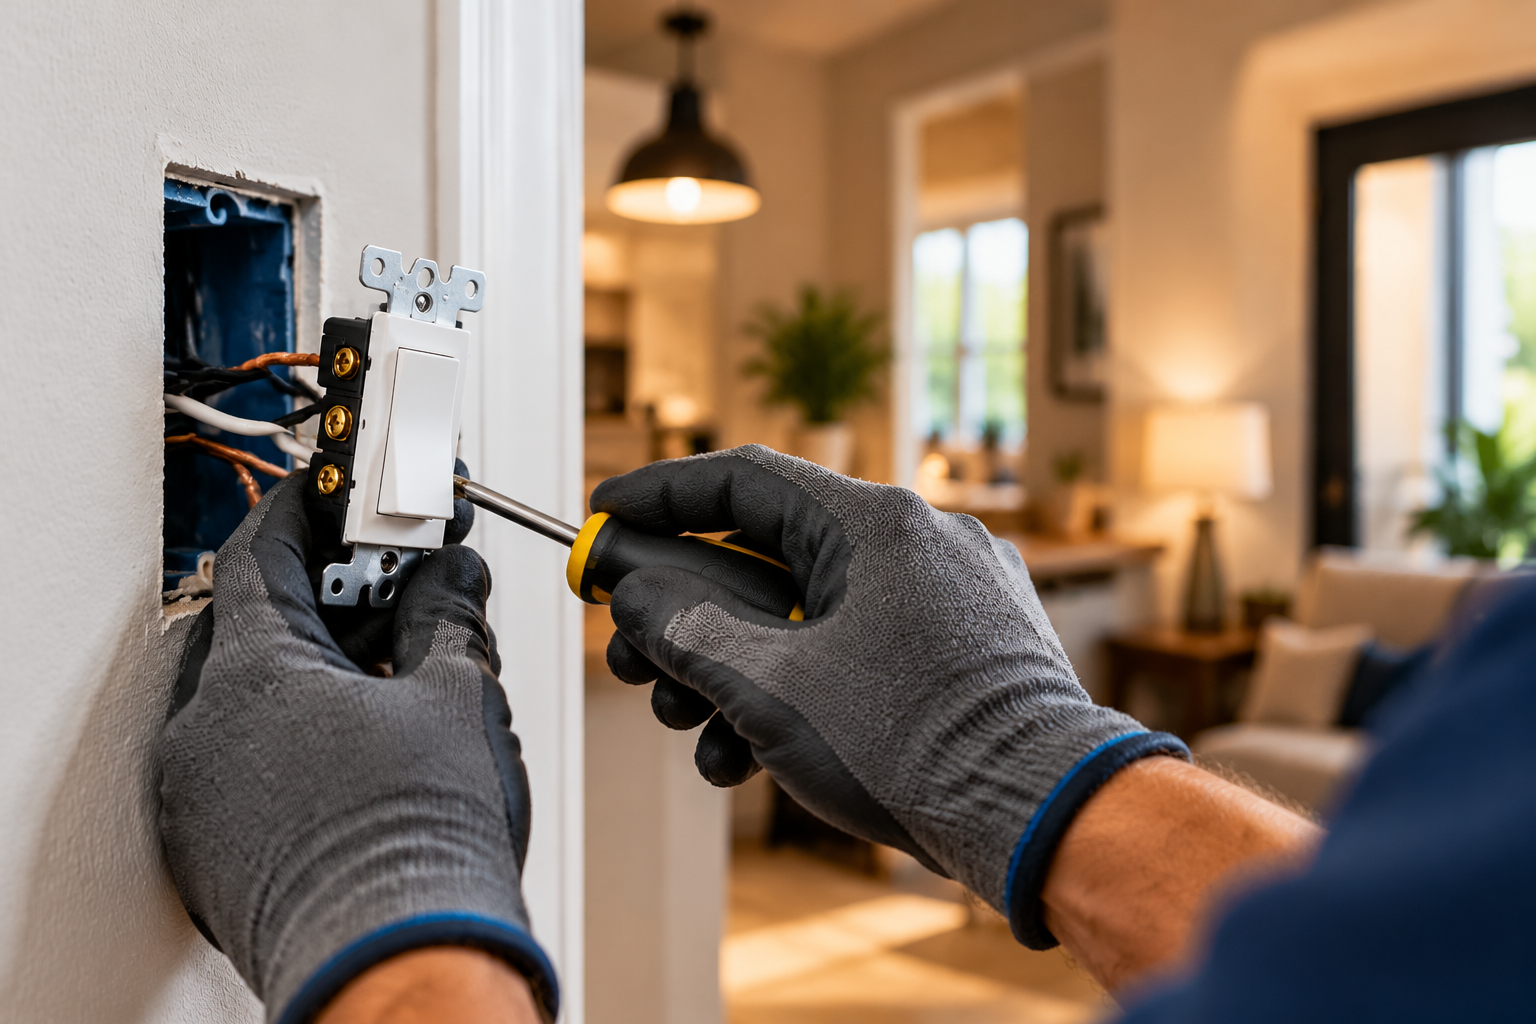
Most homes eventually have a switch that does nothing, wobbles in the wall or still has the original yellowed toggle. If you’re working out how to replace a light switch, a like-for-like swap on a healthy circuit is a reasonable DIY job. Stop if the box shows heat damage, aluminum wiring or no ground wire.
Safety first: Turn the breaker off, then prove the wires are dead with a non-contact voltage tester.
Never trust the light being off.
This guide covers diagnosis, tools, how to change a light switch in 8 steps, which replacement to buy, the warning signs that mean stop, what a pro charges and where to get help.
First, Make Sure the Switch Is Really the Problem
Here’s how to tell if a light switch is bad. It usually shows one of five signs:
· no response
· a loose or “mushy” toggle
· crackling or popping when you flip it
· intermittent flicker
· a cover plate that feels warm
Rule out the cheap causes before you buy parts. Try a bulb you know works. Then check the breaker panel and any GFCI outlets for a trip, and see whether other lights or outlets on that circuit are also dead.
If the light switch is not working and several devices are out, or the breaker keeps tripping, the problem is in the wiring, not the switch. That’s a different job. Learn the other warning signs of electrical problems before you go further.
Tools and Materials You’ll Need
Gather everything before you start, so you’re not hunting for a screwdriver in a dark room:
· Non-contact voltage tester
· Insulated flat and Phillips screwdrivers
· Wire stripper
· Needle-nose pliers
· Replacement switch
· Electrical tape, or masking tape and a marker for labels
· Phone for photos
· Flashlight or headlamp, because the room light will be off
The rule is that the new switch must match the old one’s type and amp rating. Standard lighting switches are usually rated 15 A, and the rating is stamped on the switch body.
How to Replace a Light Switch in 8 Steps
Turn off the breaker, then confirm the wires are dead with a non-contact voltage tester. Remove the cover plate and switch, then photograph, label and disconnect each wire. Connect the new switch ground first. Fold the wires back, mount the switch without overtightening, restore power and test it.
Step 1: Identify the switch you have
A single-pole switch controls a light from one place. It has two brass screws, a green ground screw, and ON/OFF printed on the toggle. Most switches in a house are this type, and it’s the one this guide walks through.
Does yours have three screws, one of them darker, or a toggle with no ON/OFF marking? That’s a 3-way switch. Check the table further down before you disconnect anything.
Step 2: Turn off the breaker
Find the circuit at the panel. If the labels are wrong or missing, have someone watch the light while you flip breakers one at a time. Once it’s off, put tape over the breaker or tell everyone in the house, so nobody switches it back on while your hands are in the box.
Step 3: Prove the power is off at every wire
Electricians use a habit called live-dead-live:
1. Test your tester on an outlet you know is live.
2. Test the switch wires.
3. Test the tester on the live outlet again, to confirm it didn’t fail halfway through.
One detail people miss: some switch boxes hold wires from more than one circuit, so test every wire in the box, not just the ones on the switch. If anything still reads live, find that second breaker and turn it off too. Do not rely on the light being off as proof.
Step 4: Remove the cover plate and pull the switch out
Take out the plate screws, then the two mounting screws that hold the switch in the box. Pull the switch straight out without tugging the wires off.
Look before you touch anything else. Stop and go to the decision checklist below if you see any of these:
· scorch marks
· melted insulation
· dull silver-coloured wire, which may be aluminum
· no ground wire
Step 5: Photograph and label the wires, then disconnect
Take a clear photo showing which wire goes to which screw, then label each wire with tape. On a 3-way switch, mark the wire on the dark common screw before you remove anything. That one label prevents the most common 3-way mistake.
To disconnect, loosen the screws. If the wires are pushed into holes in the back of the switch (called backstab connections), release them by pressing a small screwdriver into the slot beside each hole.
Step 6: Connect the new switch
Connect the ground first: the bare or green wire goes to the green screw. Then connect the two remaining wires to the brass screws. On a single-pole switch, either brass screw works.
This is the part people mean when they ask how to wire a light switch, and the details matter:
· Strip about 3/4 inch of insulation, or match the strip gauge on the back of the switch.
· Form a hook with needle-nose pliers and wrap it clockwise around the screw, so tightening pulls the wire in rather than pushing it out.
· Use the screw terminals instead of the push-in backstab holes. They make a more secure connection.
Check how your box is wired. In some older switch loops, a white wire is used as a hot conductor and should be marked with black tape. A bundle of white wires capped together at the back of the box is neutrals, and they don’t connect to a standard switch.
On a 3-way, the wire you marked goes to the dark common screw on the new switch. The other two wires, called travelers, go to the brass screws.
Step 7: Fold the wires in and mount the switch
Fold the wires back into the box in an accordion shape, with the ground at the back. Screw the switch in plumb and flush with the wall. Don’t overtighten it, because that can crack the switch’s metal mounting strap or strip a plastic box. Snug the cover plate down without cracking it.
Step 8: Restore power and test
Turn the breaker back on and work the switch several times. If the light doesn’t respond, or the breaker trips, turn the power off and recheck your connections against the photo. If the plate feels warm after a few minutes of use, stop and read the warm-switch section below.
Common Mistakes That Turn a Simple Swap Into a Problem
· Skipping the tester. A mislabelled breaker leaves the box live.
· Testing only one wire in a multi-circuit box. A second circuit can still be energized.
· Putting a wire on the wrong terminal, especially the 3-way common. The light will only work from one switch position, or not at all.
· Overtightening the mounting screws. It cracks the strap or strips the box.
· Loose wraps or backstab connections. Loose connections create heat over time.
· Reusing a worn or heat-marked switch. The fault comes back.
· Buying a different switch type than the one you removed. The wiring won’t match.
Warm, Buzzing or Scorched Switch? Stop Here
If you’re asking why your light switch is hot, start with the type. A dimmer feeling faintly warm under load can be normal. A standard switch that feels hot is not normal. Neither is buzzing, a burning smell, scorch marks or melted plastic. Those point to a loose connection or an overloaded or failing device. Stop using the switch and leave the breaker off.
In Florida, heat and humidity can speed up corrosion on terminals. In coastal homes, look for green or white crust on the screws.
Before you decide to fix heat damage yourself, read up on the real risks of DIY electrical repair.
If your switch passed these checks, the next job is buying the right replacement.
Which Switch Do I Have? Match It Before You Buy
Buying the wrong type is the most common reason a swap fails. Identify the old switch from its screw count and markings, photograph it, and buy the same type.
| Switch type | How to identify it | Where it’s used | What changes in the swap |
| Single-pole | 2 brass screws plus green ground, ON/OFF marked | One switch controls the light | The base case in this guide |
| 3-way | 3 screws (one dark common) plus ground, no ON/OFF | Two switches control one light (stairs, hallways) | Mark the common wire first; the new switch must be 3-way |
| 4-way | 4 brass screws plus ground, no ON/OFF | Between two 3-ways (three or more locations) | Two pairs of travelers; label every wire or call a pro |
| Dimmer | Slider, dial or paddle; often wire leads instead of screws | Dining rooms, bedrooms | Must match single-pole or 3-way and the bulb type (see next section) |
| Smart switch | Wire leads, often needs a neutral | Anywhere you want scheduling or app control | Often needs a neutral wire and box space |
| Rocker vs toggle | Flat paddle vs lever | Style choice | Same wiring; only the plate opening changes |
The single-pole vs 3-way question comes down to locations: one switch for the light, or two. You can tell them apart by the screw count, not by how they look. Whichever of the types of light switches you’re choosing between, match the amp rating. Also check that a bulky dimmer or smart switch will fit in a shallow box.
Dimmer, Smart or Standard? Choosing an Upgrade
A dimmer light switch adds control over brightness and is wired much like a single-pole switch. If the light is on a 3-way circuit, you need a dimmer rated for 3-way use.
LEDs add one rule: use bulbs marked dimmable and a dimmer rated for LED loads. Put simply, the best dimmer switch for LED lights is one built for them. Buzzing, flicker, or a light that won’t dim smoothly are signs of a mismatch.
Smart switches give you scheduling plus app and voice control. In exchange, they cost more and rely on Wi-Fi or a hub. Most also need a neutral wire at the switch, and older homes often don’t have one in the switch box. If yours doesn’t, treat it as a job for a pro.
DIY Swap or Electrician? A Quick Decision Checklist
Can you replace a light switch yourself? Yes, for one switch replaced with the same type on wiring that looks normal. No, if the box shows any of the conditions on the second list.
Reasonable DIY:
· One switch
· Same type as the old one
· Copper wires in good shape
· Ground wire present
· Breaker clearly identified
Call a pro:
· Hot, buzzing or scorched switch or box
· Aluminum wiring
· No ground wire
· No neutral wire for a smart switch
· An unlabelled 3-way or 4-way that’s already disconnected
· The breaker trips after the swap
· Any doubt about which breaker feeds the box
If you’d like a second opinion, send us a photo of the open box with a short description, and we’ll tell you honestly whether it’s a DIY swap.
What Does It Cost to Have a Pro Replace a Light Switch?
A single switch swap is usually billed at the electrician’s or handyman’s minimum service charge, not by the minute. The visit, travel and setup cost about the same whether the switch takes a short time or a little longer.
Several things move the light switch replacement cost up from that baseline:
· Switch type: a standard switch costs less than a dimmer, which costs less than a 3-way, which costs less than a smart switch. Dimmer switch installation typically costs more because of the part and the compatibility checks.
· Wiring condition: old wiring, aluminum, no ground or no neutral adds work.
· Access: a hard-to-reach box, or a damaged box that needs replacing.
· Quantity: doing several switches in one visit spreads the minimum charge.
· Scope: replacing a switch is a much smaller job than running new wire.
For local context on the cost to replace a light switch alongside other small jobs, see what handyman jobs typically cost in Bradenton. Shoreline offers free estimates for most straightforward repair, installation and maintenance projects. Service call fees may apply for troubleshooting and diagnostics.
Getting Help in Bradenton and Sarasota
A plain like-for-like swap is often handyman work. Anything on the call-a-pro checklist needs an electrician: heat damage, aluminum wiring, missing grounds or neutrals, or a breaker that trips.
Shoreline Handyman & Home Watch Services handles both kinds of work for homeowners in Bradenton, Manatee County and Sarasota County. For a straightforward replacement, start with our handyman service for simple swaps. If you need an electrician in Bradenton, FL for a switch that’s hot, scorched or wired in a way you don’t recognize, use the booking details at the end of this guide.
Light Switch Questions Homeowners Ask
These are the questions homeowners ask most often about this job.
Can I replace a light switch by myself?
Yes, for a same-type swap on healthy wiring, with the breaker off and every wire tested. Stop if you find heat damage, aluminum wiring or a missing ground.
Does it matter which wire goes where on a light switch?
On a single-pole switch, the two hot and load wires can go on either brass screw, but the ground must go to the green screw. On 3-way and 4-way switches it matters a lot: the common wire must go on the dark screw.
How can I tell if a light switch has gone bad?
Common signs are no response, a loose or crackling toggle, flicker or a warm plate. Rule out the bulb and the breaker first.
Do I need an electrician to replace a light switch?
Not for a simple swap. Call one for heat damage, aluminum wiring, a missing ground or neutral, or a breaker that trips.
Conclusion: Replacing a Light Switch Safely
Once you know how to replace a light switch, the job is mostly careful checking. Confirm the switch is really the fault. Kill the breaker and test every wire in the box. Photograph the wiring before you disconnect it, and buy the same type of switch. Connect the ground first, and don’t overtighten anything.
The skill that matters most is knowing when to stop. Heat, scorching, aluminum wiring or a missing ground all mean the box needs a professional, not another attempt. When the box doesn’t look right, Shoreline Handyman & Home Watch Services can take it from there.